Are you looking to make your oven maintenance easier? You need an oven liner! Follow this ultimate guide to understand how to install and use an oven liner properly and conveniently.
Installing and using an oven liner can be a tedious task, but with the right tips, it can be a hassle-free experience.
Installing and using an oven liner to protect your oven from grease, grime, and spills is an easy way to maintain your cooking appliance. An oven liner is a non-stick sheet – usually made from teflon or silicone – designed to withstand high temperatures and catch whatever might drip down the sides of your oven during cooking.
It’s important to know how to properly install and use an oven liner for optimal efficiency and safety. In this guide, we’ll cover the materials needed, installation steps, as well as tips on correctly using an oven liner so you can make sure your kitchen remains clean and accident-free.
Explanation of oven liners and their benefits
Oven liners can be made of several materials, such as Teflon-coated aluminum, high-temperature silicone, or even emissive ceramic. These can protect the bottom of your oven and catch spills and debris during cooking.
They also absorb heat to help conduct the warmth evenly around all parts of your oven for better, more consistent baking that also conserves energy. An added benefit is that they make cleaning up quick and easy because any burnt bits and spillage are simply wiped away from the liner instead of damaging the interior of your oven’s walls or floor.

Importance of proper installation and usage
When it comes to installing and using an oven liner, there are many factors that should be taken into account. An oven liner helps protect your oven from damage caused by grease and food spills, as well as keeping the interior walls of the oven clean. Proper installation and usage can greatly reduce the risk of damage to your ovens surface and prolong its life.
Installing an oven liner is a simple process; one must first measure the inner space of their oven accurately before purchasing a corresponding oven liner with accurately cutouts for shelves or grates. For proper installation, it is important to make sure that all corners are placed securely and away from any edges or sharp surfaces that could cause damage. For reusable liners, materials such as fiberglass or silicon work best since they withstand higher temperatures without melting or becoming misshapen.
Proper usage of an oven liner also plays a role in prolonging its life; it’s important that you give your liner a light cleaning after each use with warm water or a mild soap solution to remove any debris left behind from cooking. Additionally, when preheating your oven make sure to leave the door open slightly to avoid burning the mesh fabric on newer liners which can lead to premature deterioration of the product. It is also wise not to place any cookware on top of your liners, as this could lead to unintended contact between hot metal surfaces which can potentially distort them out of shape. Following these instructions will ensure that your liners stay in good condition even after prolonged periods of use!
How to Install an Oven Liner
To properly install an oven liner, follow the steps below:
- Prep your Oven Space: Before you begin, remove all pots, pans and racks from your oven. Turn off any heat sources for safety and allow your oven to cool completely perhaps by running it on a “clean cycle” for a few minutes.
- Measure and Cut Liner to Fit: Once you’ve allowed your oven to cool completely, grab the liner and measure it against the interior of the appliance with tape measure. If needed, mark the measurements on the non-carpeted side with a marker or pen that won’t leave residue in your oven. Cut oversized according to these measurements with scissors or box cutters; take care not to cut too short. The edges of the liner should slightly overlap so that no parts of metal can be seen as these can cause overheating within the electrical elements.
- Install: With extra caution when handling sharp objects near wires, gently place into desired spot in bottom of oven so that all edges are tucked in but have not made contact with open electrical components such as heating elements or pilot burner units (if applicable). For best results, try not to tug on sides or stretch corners during installation if possible as this may cause uneven warmth along food-facing surfaces in later baking cycles which can result in undercooked goods or other undesired cooked product outcomes aside from poor lining positioning. Lastly ensure that all wiring remains uncovered and accessible after installation so as not to create fire hazards or unnecessary risk towards ether potential electrical damage due higher wattages travelling through hidden circuits within walls etcetera!
Preparation steps before installation
Installing an oven liner is a simple but important job to help keep your oven in working order. To ensure proper installation and usage of an oven liner, there are some key steps that need to be taken prior to installation.
First, be sure to read the instructions for your specific oven liner. Some liners may require additional preparation such as cutting the liner to size or pre-treating with non-caustic cleaners. If a pre-treatment is necessary, be sure to use a non-abrasive cleaner so as not to damage the surface of your oven.
Additionally, check that all racks, ceramic stovetop pieces and other objects on the interior of your oven have been removed prior to installing the liner. This is especially important when using self-adhesive liners as they will not adhere correctly if any foreign items are present in your oven.
Also double check that all chemicals have been removed from the interior before beginning installation. This includes store bought cleaning solutions and harsh detergents which could damage or discolor your new oven liner over time.
Finally, it’s important to never line any insulation elements such as heating elements or control panels with an oven liner – doing so can void any warranties and void UL listing on electric ranges and cause a hazard due to improper wiring when exposed metal surfaces are covered by dried greases or other materials which can melt during use in extremely high temperatures released from these surfaces.
Step-by-step guide to install an oven liner
Installing an oven liner is a great way to protect your oven from messes, spills and stubborn buildup. Oven liners are cost-effective, easy to install and can last for multiple uses. To create a successful installation process, follow these steps:
- Start by measuring the width and length of the inside of the oven. Most oven liners come in standard sizes that should fit most ovens – if you have an unusually sized model, you may need to buy a custom-made liner.
- Clean your oven bottom thoroughly before installing the liner – this will ensure that the liner adheres properly. You can use baking soda or vinegar to scrub away any residue or buildup in the bottom of your oven. Afterward, let it dry completely before continuing with installation.
- Read all instructions before installing your liner – each brand may differ slightly when it comes to how they should be installed correctly. For optimal results, follow all instructions carefully so that the liner will fit correctly and stay in place while cooking.
- Place the liner at the bottom of your clean and dry oven before you turn on any heat – make sure there are no wrinkles or folds that could cause air flow obstruction or contamination during baking/cooking time. If so, unroll it again and lay it flat as needed until it fits snugly against all sides of your oven walls without interfering with air vents or fan blades present in some recipes.
- Place something heavy on top of an otherwise empty shelf – this will help keep the edges down when heat is applied during cooking/baking time as well as distributing weight evenly for optimal fitment inside your unit. Finally, close lid properly for even heating throughout cycle period so heat doesn’t escape prematurely causing uneven cooking results or worse (hot trauma) being exposed on skin due to hot temperatures directly exposed!
Tips for a smooth installation process
Installing an oven liner can be an easy and convenient task as long as it is done correctly. Follow these steps to ensure a successful, stress-free installation:
- Measure the space inside your oven before purchasing a liner. Make sure to buy one that fits snugly and use it only in the correct appliance, as some are designed to fit specific models only.
- Clean the oven walls thoroughly before installing the liner, removing any grease, dust, food particles or other debris.
- It is recommended that liners not be used on porcelain-coated racks so they can slide smoothly in and out of the oven while your cooking is taking place.
- Cut or fold liners (if necessary) according to the instructions listed on the product packaging in order to get a good fit inside your oven space.
- Place the liner on top of the bottom wire rack in your oven and adjust if necessary for even coverage across all surfaces of your appliance’s interior walls and ceiling. Note: For electric range with solid metal tops models it is safe to install a full size liner on top of its surface after ensuring there are no loose components that could cause interference with proper operation when it is closed. Consult manual for more information if unsure of compatibility with certain models.
- Finally, check periodically that no fumes from grease cooking or other foods are escaping from beneath your liner’s edges during baking and roasting cycles. Note: These vapors can affect taste or discolor dishes being cooked in your appliance if left unchecked.
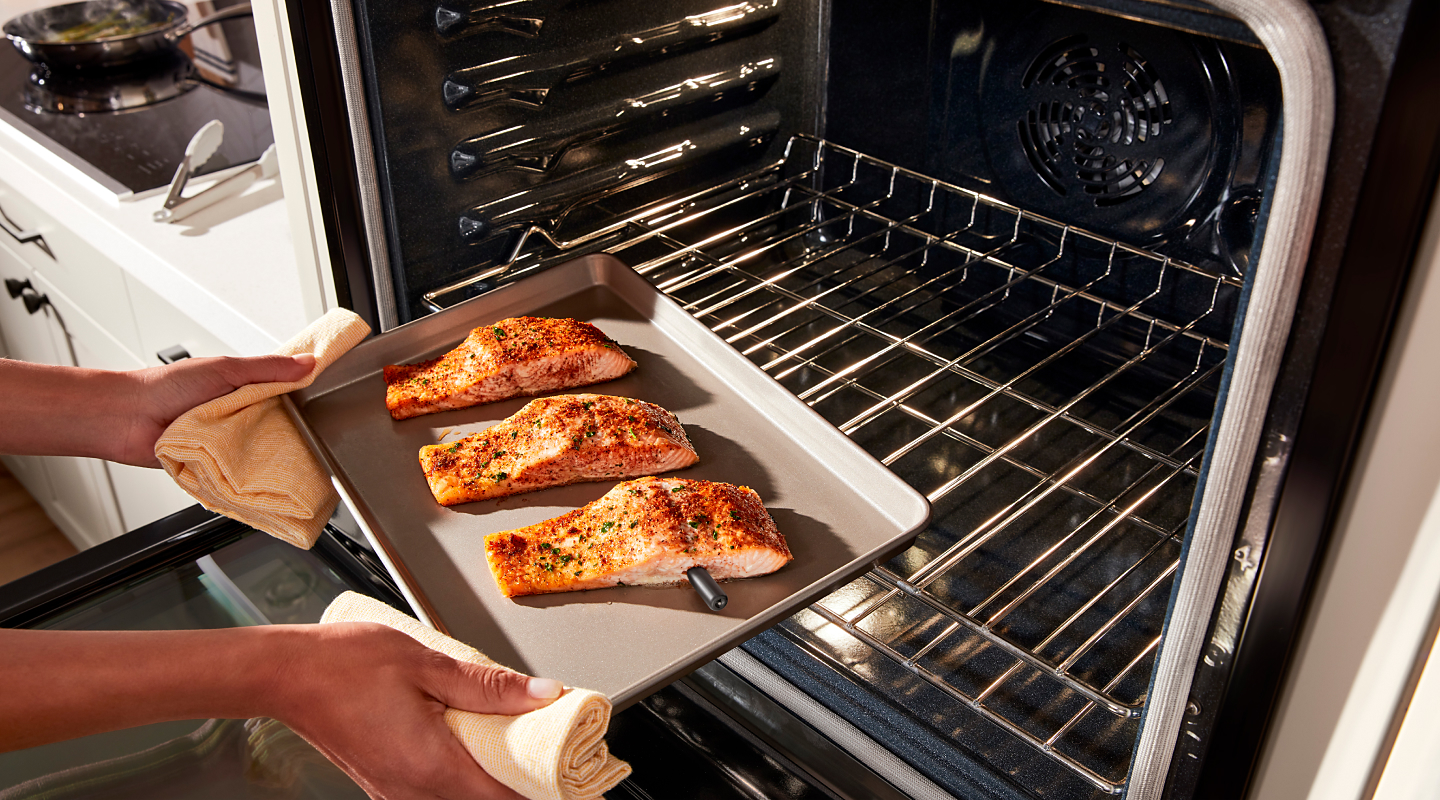
How to Use an Oven Liner
Once you have purchased and installed an oven liner, you will need to know how to use it properly. Oven liners are made from materials that are heat resistant, so they can be safely used at high temperatures. Properly using an oven liner allows it to last longer and helps it fulfill its purpose of catching food particles and grease drippings. Here’s how you should use an oven liner:
- Preheat your oven as per the instructions on your recipe or baking directions before using the oven liner.
- Place the items you wish to bake onto the bottom of your preheated oven carefully. The items should not make contact with the edges of the oven walls as this may cause them to char or over-bake.
- Place the baking sheet with the items onto the middle rack of your pre-heated oven, directly above the oven liner collecting any food dripping created while cooking/baking your dinner/dessert items below in this dish/pan.
- When finished cooking or baking remove all items from inside of your pre-heated oven before attempting to remove/replace or clean off any remnants from that may remain on top of one’s reusable, washable non-stick silicone kitchenware product (oven liners).
- Once done simply grab hold of two sides of your now cooled off non-toxic reusable, washable non-stick silicone kitchenware product (oven liners) and hand wash it then hang dry for storage purposes in order for one’s appliance accessory (oven liners) longevity benefit for future meals planned then cooked and baked desires!
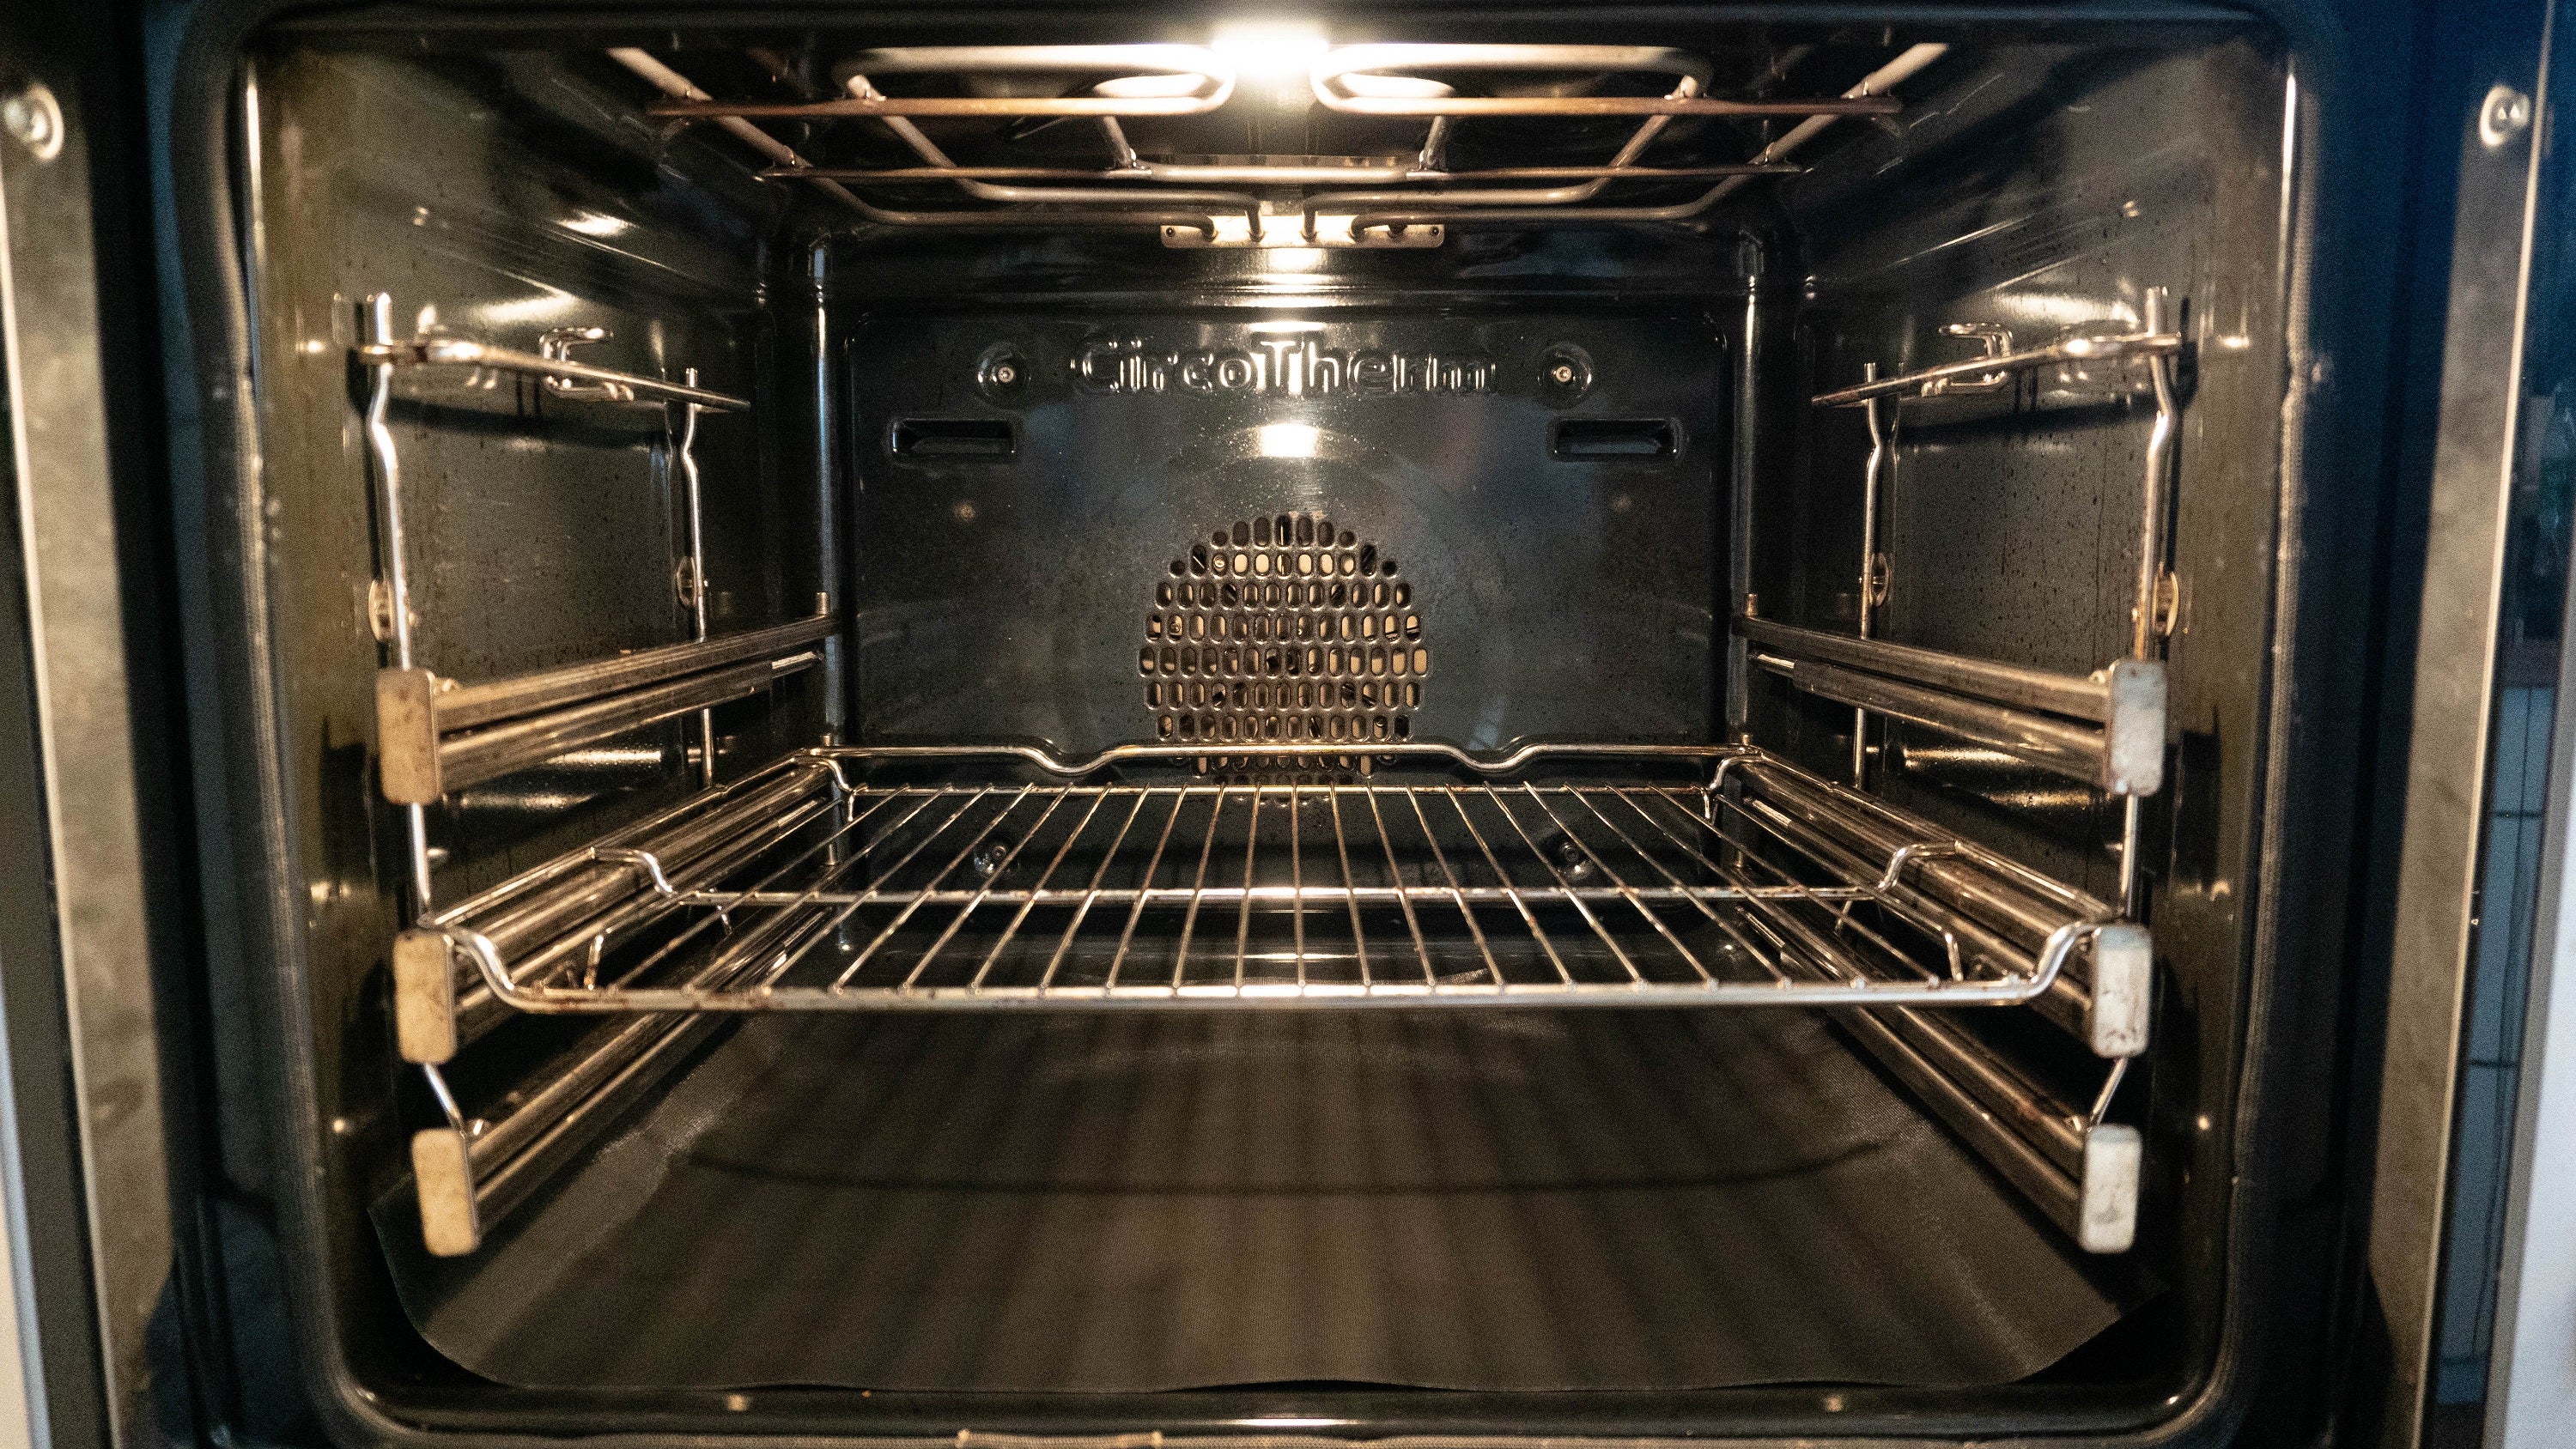
Proper placement of the oven liner in the oven
Installing an oven liner, also called an oven mat, can protect the base of your oven from spillages or food chips. This can be a helpful tool for those with busy kitchens who bake regularly, as it can make cleanup easier and help to extend the life of your oven. Oven liners are not a substitute for regular cleaning and need to be removed and washed periodically. Proper placement and use of an oven liner will help ensure that it works most effectively.
To place the oven mat properly, remove all baking racks from the inside of your oven. Place the mat in the bottom of the empty unit on a flat surface with any hook-and-loop fasteners at the back wall of your oven for improved stability. Make sure there are no gaps between your oven door and liner so as not to disrupt its effectiveness.
You should also pay close attention to proper maintenance; follow any instructions on how best to clean your specific type of oven mat, as these will vary depending on their material construction such as steel or silicone. Also make sure you check that you don’t have an open flame in your cooking appliance before placing any heat-resistant material like an oven mats inside; open flames can cause serious damage very quickly when heated synthetic materials are involved!
Precautions while using an oven liner
When using an oven liner, certain safety precautions should be taken to ensure that the oven liner does not cause any accidents. Here are some important things to consider before installing and using an oven liner:
- Check the measurements and make sure that your oven can accommodate the oven liner. If it cannot fit in your oven properly, it will not function as expected and could pose a fire risk or other hazards.
- Inspect your oven before installation and make sure there are no cracks or worn out parts which could interfere with the installation process.
- Make sure that your oven is cool before you install an oven liner. Installing it while it is hot may cause damage to both the lining and your oven itself.
- Make sure that you thoroughly read all instructions included with the liner prior to use so that you understand how to correctly place, handle, clean, and remove the oven liner properly.
- Be sure to check in on your food while cooking to make sure that everything is cooking correctly and at the right temperature. Because of its close proximity to food during cooking, an oven liner may shorten cooking times by reflecting heat back onto the food being cooked in addition to protecting from spilling or burning food incidents. This may mean you need shorter cook times than what a recipe calls for, so be sure to check on your food periodically during cooking for safety reasons as well as for accurate cook times and results!
Maintenance and cleaning of the oven liner
It is important to clean and maintain your oven liner regularly in order to ensure its longevity. Calcium deposit buildup from water, carbon, and grease can cause damage over time. To clean the liner, just wipe it with a damp cloth and some soap or detergent to remove oil residues. You can also use a light bleach solution or specialized cleaning products such as cooking sprays formulated for the cleaning of oven liners. If the liner is heavily stained with hard-water deposits, you will need to use an abrasive cleaner such as steel wool or aluminum foil to remove them.
Once you have finished cleaning, don’t forget to let the liners air dry completely before you replace them in the oven. For more stubborn stains and odors, lightly rub baking soda on a wet cloth and gently scrub away each spot. Rinse thoroughly once done and let dry before replacing in your oven.
It’s also important to check that your oven liner fits properly; otherwise it may not provide adequate protection for your appliance surfaces and could lead to accidental fires caused by heat build up between the metal walls of the oven cavity and a poorly fitted liner. Once per season or every year is usually a good timeline for replacing an oven liner if it becomes worn out from frequent usage or shows signs of cracking due excessive heat exposure despite proper maintenance efforts being employed routinely.
Conclusion
In conclusion, oven liners are a cost-effective and easy-to-use tool for keeping your oven clean. While there is no one-size-fits-all solution for every type of oven, there are many different styles and sizes of oven liners that can accommodate virtually any size or shape.
After selecting the right liner for your particular setup, properly installing it tends to be as quick and painless as wiping down the shelves, trimming to fit, and placing it in the designated area. Additionally, regular maintenance is key when using an oven liner to help keep it functioning at its best performance—a clean liner means a cleaner oven!
FAQ’S
What is the proper placement of oven liner?
The proper placement of an oven liner is on the bottom of the oven or on the lowest rack, but not on the oven floor.
Why not put oven liner on bottom of oven?
Putting an oven liner on the bottom of the oven can cause the oven to overheat and affect the oven’s performance.
Is it OK to use oven liners?
Yes, it is generally okay to use oven liners as they can help protect the oven from spills and make cleaning easier.
Do oven liners affect oven temperature?
Oven liners can affect oven temperature if they are placed directly on the oven floor or if they are too close to the heating element.
Are oven liners a fire hazard?
Oven liners can be a fire hazard if they are not made of heat-resistant materials or if they are placed too close to the heating element.
Can you use oven liner on baking tray?
Yes, you can use an oven liner on a baking tray to help prevent food from sticking or to make cleaning easier.
Do you use the top or bottom of the oven?
The top or bottom of the oven can be used depending on the type of food being cooked and the desired result.
Why can’t you put aluminum liner on bottom of oven?
An aluminum liner can reflect heat back into the oven and cause the oven to overheat, which can damage the oven and affect its performance.
Which side of oven glass faces in?
The side of the oven glass with the reflective coating typically faces the inside of the oven.
How do I protect the inside of my oven?
The inside of an oven can be protected by using oven liners, wiping up spills immediately, and regularly cleaning the oven with an appropriate cleaner.
See Also:


